UIKit - Alert 화면 구현
UIKit - Alert 화면 구현
Alert 화면 구현
Alert 화면은 UIAlertController, UIAlertAction을 통해 구현 가능함.
Apple Develop Document
UIAlertController
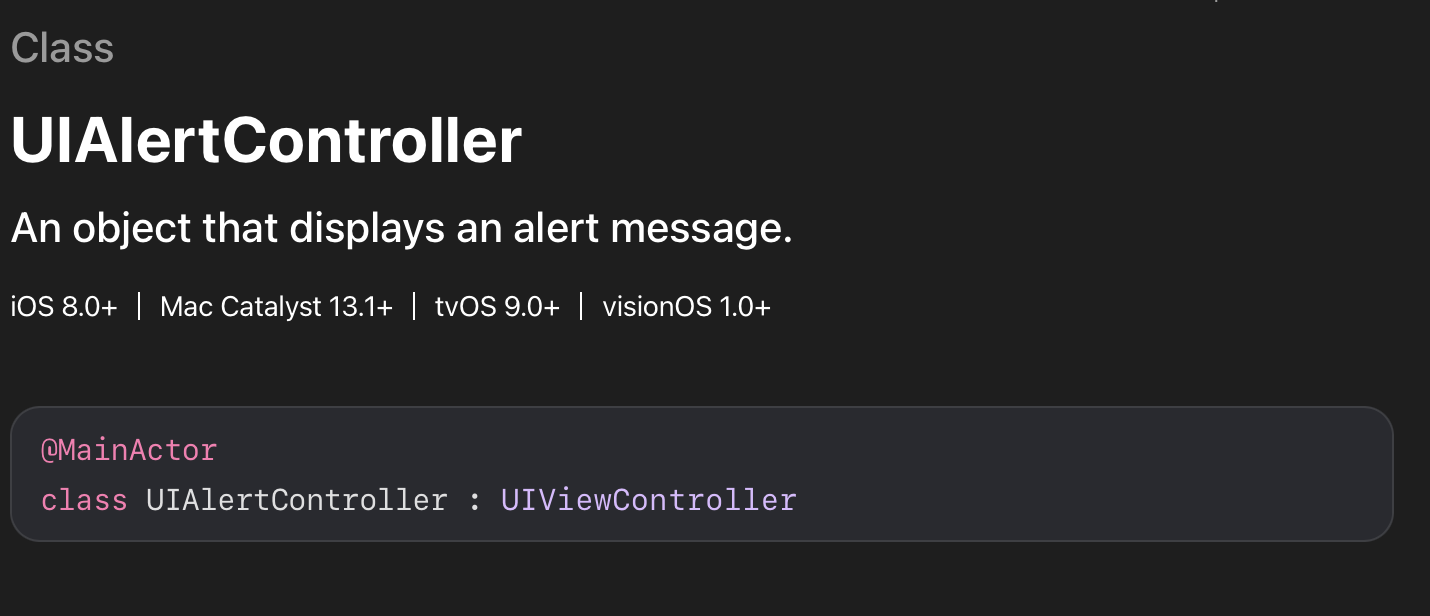
생성자를 통해 Alert의 title, message, preferredStyle을 지정할 수 있음.
UIAlertAction
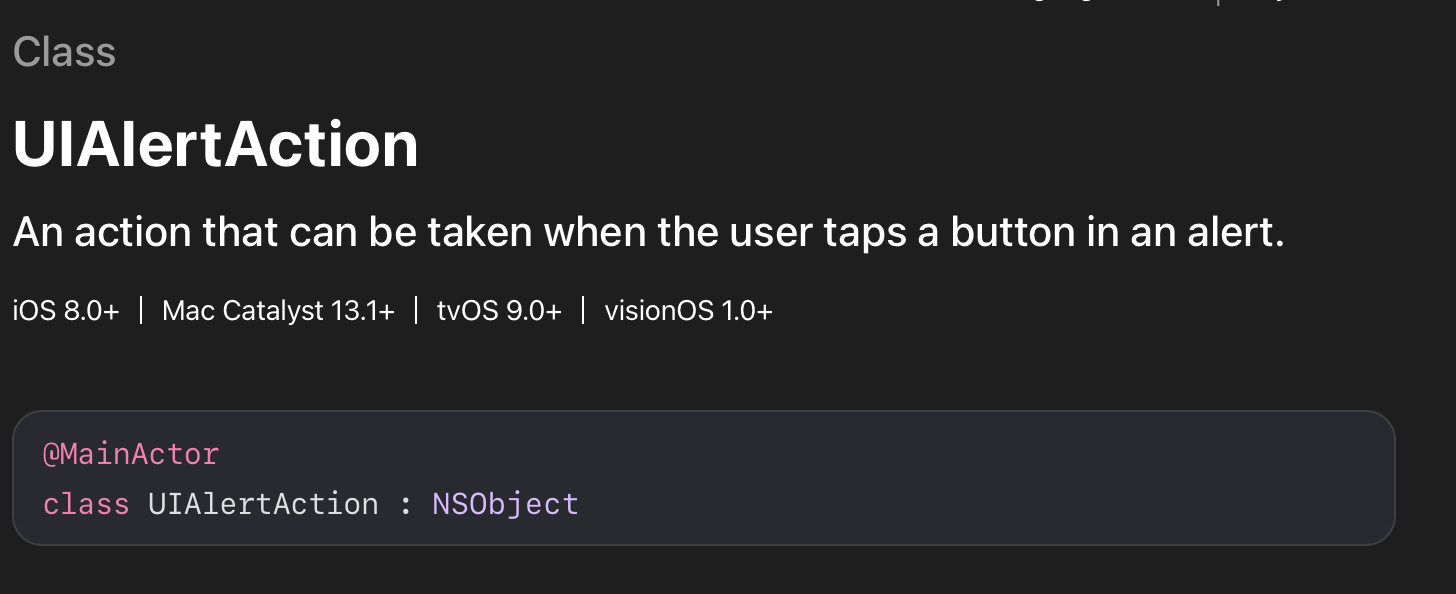
UIAlertAction은 AlertController를 통해 만들어낸 Alert 화면에 액션(동작)을 설정함.
구현 예시
예시 코드
1
2
3
4
5
6
7
8
9
10
11
12
13
14
15
16
17
18
19
20
21
22
23
24
25
26
27
28
29
30
31
32
33
34
35
36
37
38
39
40
41
42
43
44
45
46
47
48
49
50
51
52
import UIKit

class ViewController: UIViewController {

    private lazy var exButton: UIButton = {
        let button = UIButton()

        button.setTitle("Show", for: .normal)
        button.backgroundColor = .black
        button.setTitleColor(.white, for: .normal)
        button.addTarget(self, action: #selector(showAlert), for: .touchUpInside)

        return button
    }()

    override func viewDidLoad() {
        super.viewDidLoad()

        setUI()
    }

    func setUI(){
        self.view.addSubview(exButton)

        exButton.translatesAutoresizingMaskIntoConstraints = false

        NSLayoutConstraint.activate([
            exButton.leadingAnchor.constraint(equalTo: self.view.leadingAnchor, constant: 30),
            exButton.trailingAnchor.constraint(equalTo: self.view.trailingAnchor, constant: -30),
            exButton.centerYAnchor.constraint(equalTo: self.view.centerYAnchor)
        ])
    }

    @objc func showAlert(){
        let alert = UIAlertController(title: "Alert Title", message: "Alert Message", preferredStyle: .alert)

        let checkAction = UIAlertAction(title: "확인", style: .default) { _ in
            print("확인이 눌렸음.")
        }

        let cancelAction = UIAlertAction(title: "취소", style: .cancel) { _ in
            print("취소가 눌렸음.")
        }

        alert.addAction(checkAction)
        alert.addAction(cancelAction)

        present(alert, animated: true) {
            print("Alert 화면으로 이동 성공함.")
        }
    }
}
결과
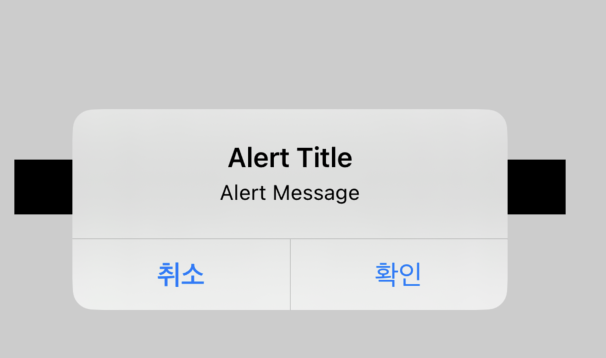
버튼을 클릭 할 시 위와 같은 Alert 화면이 나타나는 것을 알 수 있음.
1
2
3
4
5
6
7
8
9
10
11
12
13
14
15
16
17
18
19
20
21
22
23
24
25
26
27
28
import UIKit

class ViewController: UIViewController {
    ...

    @objc func showAlert(){
        // UIAlertController 생성
        let alert = UIAlertController(title: "Alert Title", message: "Alert Message", preferredStyle: .alert)

        // Alert 동작 설정
        let checkAction = UIAlertAction(title: "확인", style: .default) { _ in
            print("확인이 눌렸음.")
        }

        let cancelAction = UIAlertAction(title: "취소", style: .cancel) { _ in
            print("취소가 눌렸음.")
        }

        // 설정한 액션을 AlertController에 적용
        alert.addAction(checkAction)
        alert.addAction(cancelAction)

        // Alert 화면을 띄우기 위해 다음 화면으로 이동.
        present(alert, animated: true) {
            print("Alert 화면으로 이동 성공함.")
        }
    }
}
위 코드에서 Alert 화면을 설정하고, 띄우는 것을 처리함.
하나씩 분석해보겠음.
1
let alert = UIAlertController(title: "Alert Title", message: "Alert Message", preferredStyle: .alert)
위 코드는 UIAlertController 클래스를 통해 기본적인 Alert 화면을 설정함.
1
2
3
4
5
6
7
8
// Alert 액션 설정
let checkAction = UIAlertAction(title: "확인", style: .default) { _ in
            print("확인이 눌렸음.")
}

let cancelAction = UIAlertAction(title: "취소", style: .cancel) { _ in
            print("취소가 눌렸음.")
}
위 코드는 UIAlertAction 클래스를 통해 Alert 화면에서 받을 액션(동작)을 설정함.
1
2
alert.addAction(checkAction)
alert.addAction(cancelAction)
설정한 Action들을 UIAlertController에 적용함.
위 처럼
addAction을 하지 않으면Alert에는 액션이 적용되지 않음.
1
2
3
present(alert, animated: true) {
            print("Alert 화면으로 이동 성공함.")
}
Alert도 화면이기 때문에 띄워주려면 화면 이동이 필요함. present 메서드는 이런 화면 이동을 처리해줌.
This post is licensed under CC BY 4.0 by the author.